When I first started exploring vector art, I was amazed at how clean, sharp, and scalable the illustrations were. Unlike pixel-based images that lose quality when resized, vector graphics maintain their crispness no matter how big or small you make them. That’s why vector art is the gold standard for everything from logos and icons to digital illustrations and branding materials.
If you’re new to vector illustration, don’t worry—I’ve been there! The good news is that learning vector art doesn’t have to be overwhelming. With the right tools, techniques, and mindset, you’ll be on your way to creating stunning digital artwork in no time. In this guide, I’ll walk you through the basics of vector art and share essential tips to get you started.
What is Vector Art?
Before we dive into the creative process, let’s quickly define vector art.
Vector art is created using mathematical equations rather than pixels. This means that vector images are made up of points, lines, curves, and shapes, all connected through paths. Because of this structure, vector art can be resized infinitely without losing quality—making it perfect for professional design work.
Common vector file formats include:
✅ AI (Adobe Illustrator) – Native format for Adobe Illustrator
✅ SVG (Scalable Vector Graphics) – Used for web design and digital applications
✅ EPS (Encapsulated PostScript) – Ideal for printing and logos
✅ PDF (Portable Document Format) – Can store vector data for sharing
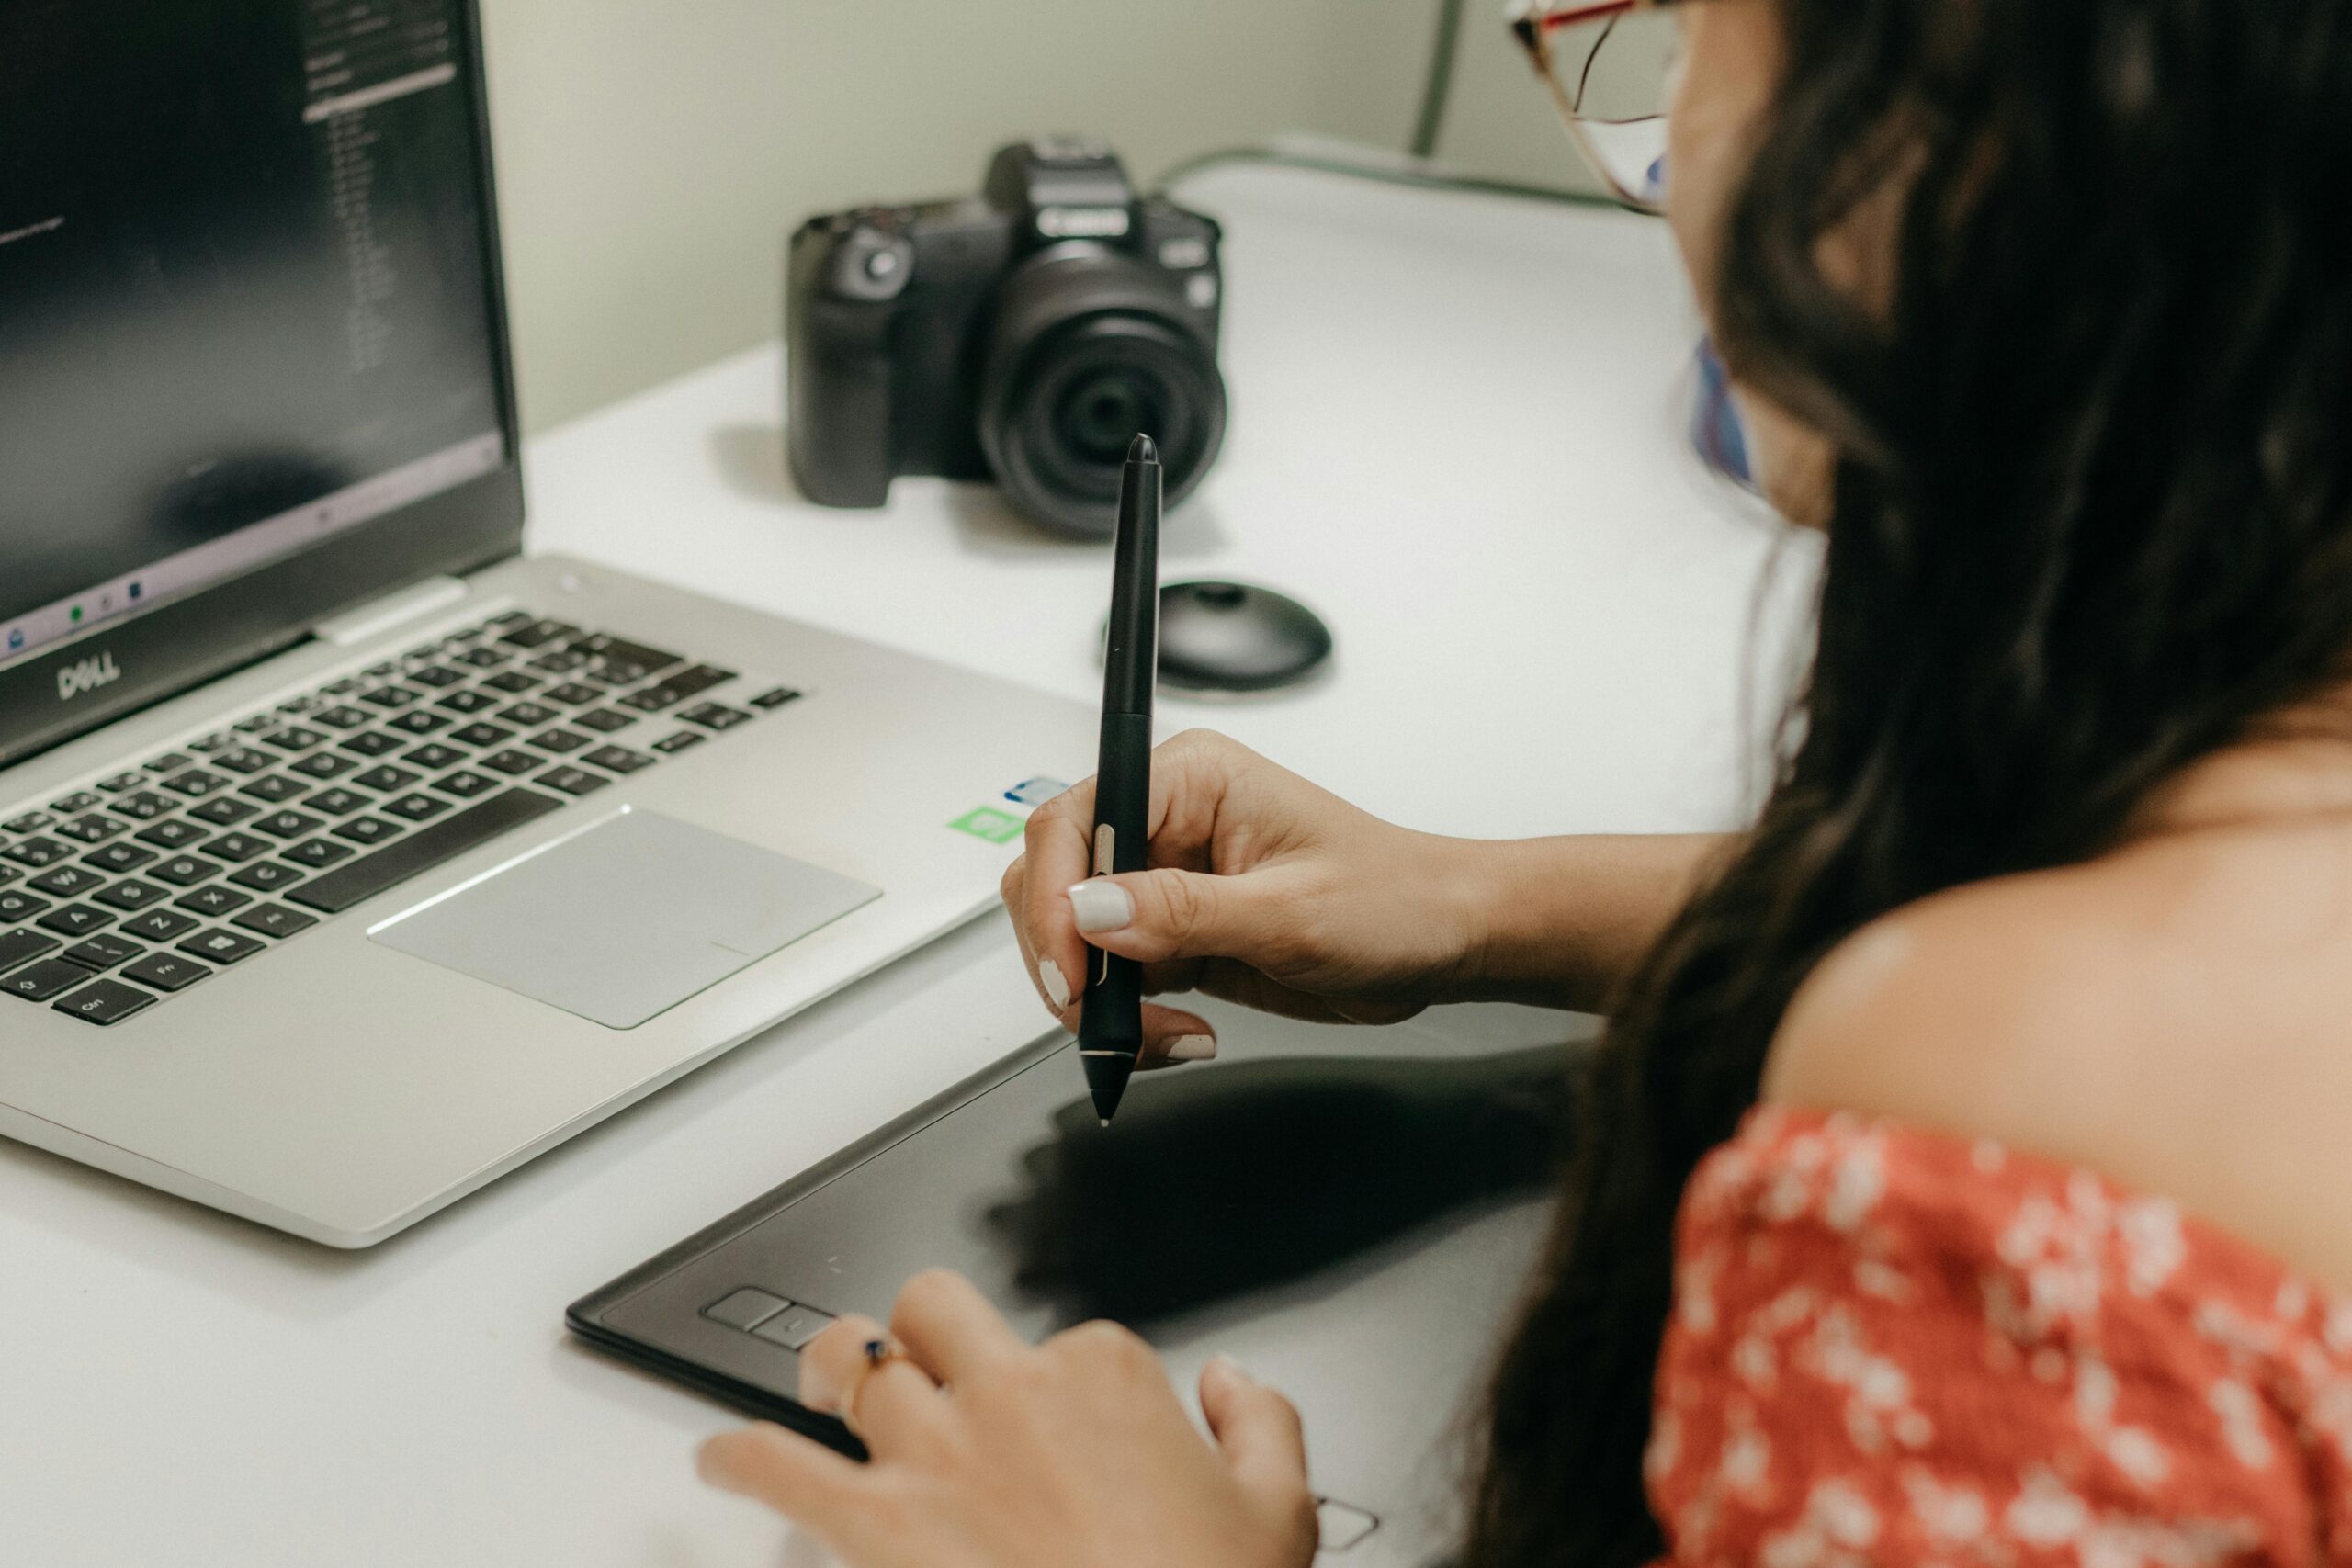
Step 1: Choosing the Right Vector Software
To create vector illustrations, you’ll need vector-based design software. Here are a few of the most popular options:
🎨 Adobe Illustrator – The industry standard for vector art, packed with powerful tools.
🎨 Affinity Designer – A budget-friendly alternative to Illustrator with a strong feature set.
🎨 CorelDRAW – A favorite among graphic designers, particularly for branding.
🎨 Inkscape – A free and open-source option for beginners and professionals alike.
I personally love working with Adobe Illustrator because of its versatility, but if you’re just starting out, Inkscape is a fantastic free tool to get familiar with vector illustration.
Step 2: Mastering Basic Vector Tools
To create vector art, you’ll need to get comfortable with a few essential tools. Here are the ones I use the most:
✏️ Pen Tool – The most powerful tool for creating precise lines and curves (and often the trickiest to master!).
🖌 Brush Tool – Allows for more organic, freehand strokes.
🔺 Shape Tools – Includes rectangles, circles, polygons, and stars, which can be combined to create complex illustrations.
📐 Anchor Points & Paths – The backbone of vector art, letting you manipulate shapes with precision.
🎭 Layers & Groups – Helps you organize different elements of your artwork.
When I first started, the Pen Tool felt intimidating, but with practice, it became my favorite tool for creating smooth, professional-looking vector illustrations.
Step 3: Creating Your First Vector Illustration
Now for the fun part—creating your first vector artwork! Here’s a simple step-by-step process to get started:
1. Start with a Simple Concept
Think of something easy to illustrate, like a fruit, a house, or a simple character. Avoid complicated shapes at first—start small!
2. Use Basic Shapes
Open your design software and use the rectangle, ellipse, and polygon tools to block out the basic structure of your illustration. Many professional vector artists build complex illustrations from simple geometric shapes.
3. Add Details with the Pen Tool
Use the Pen Tool to refine your shapes, add curves, and create custom paths. If you struggle with curves, use the handles on anchor points to smooth them out.
4. Apply Colors and Gradients
One of the coolest things about vector art is flat design and gradients. Experiment with solid colors, linear gradients, and radial gradients to add depth and dimension to your illustration.
5. Fine-Tune and Export
Once you’re happy with your illustration, adjust details, clean up any extra anchor points, and export your file in a vector format like SVG or AI for future editing.
Tips for Improving Your Vector Art Skills
When I was learning vector art, I picked up some valuable lessons along the way that made a big difference in my work:
✔️ Practice with Simple Exercises – Trace over existing vector art or use reference images to improve your precision.
✔️ Study Other Artists – Look at vector artists’ work and break down how they use shapes, colors, and shading.
✔️ Learn Keyboard Shortcuts – Speed up your workflow with Illustrator shortcuts like Ctrl+Z (undo) and Alt+drag (duplicate).
✔️ Experiment with Different Styles – Try minimalist vector art, flat design, or even vectorized hand-drawn sketches.
✔️ Stay Patient and Keep Practicing – Like any skill, vector art takes time to master. The more you practice, the more confident you’ll become.
Final Thoughts
Vector art is an incredible skill to learn, whether you’re creating illustrations for fun, working on branding projects, or designing icons for apps and websites. When I started, it felt overwhelming, but with practice, patience, and the right tools, it quickly became one of my favorite creative outlets.
So, if you’re new to vector illustration, just start—open up a design program, experiment with shapes, and have fun! Every masterpiece begins with a single anchor point.
Welcome to the world of vector art—I can’t wait to see what you create! 🎨✨